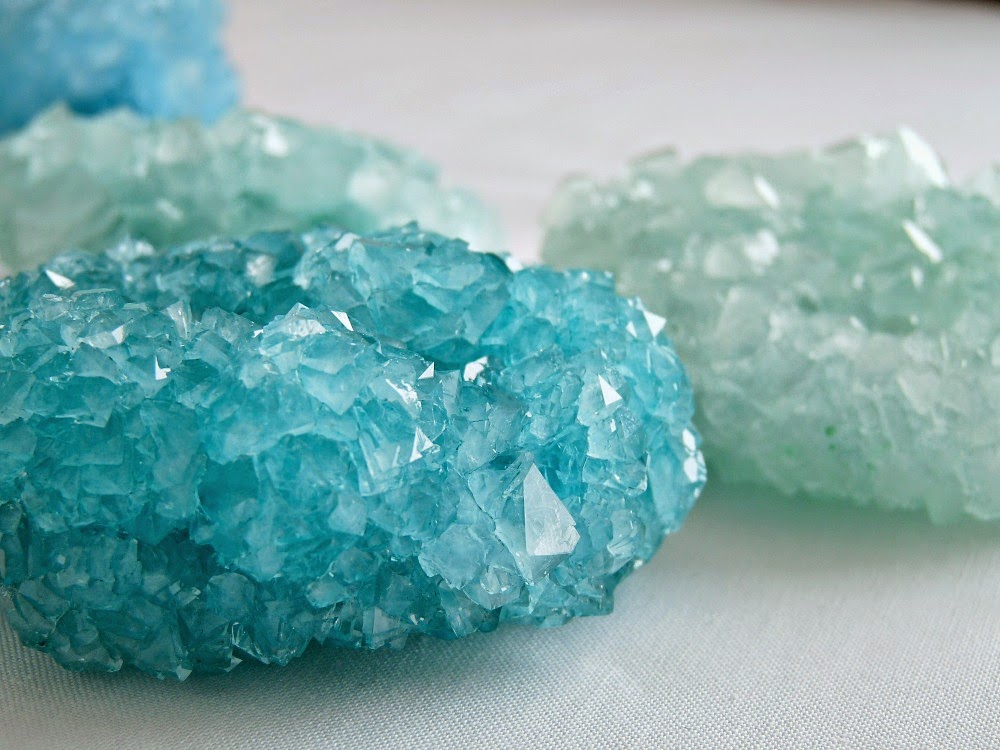
Make Rad Looking Borax Crystals In 8 Simple Steps
Borax crystallizes easily at room temperature which makes it an easy and safe experiment for kids and for adults. This post will tell you how to make some rad looking borax crystals.

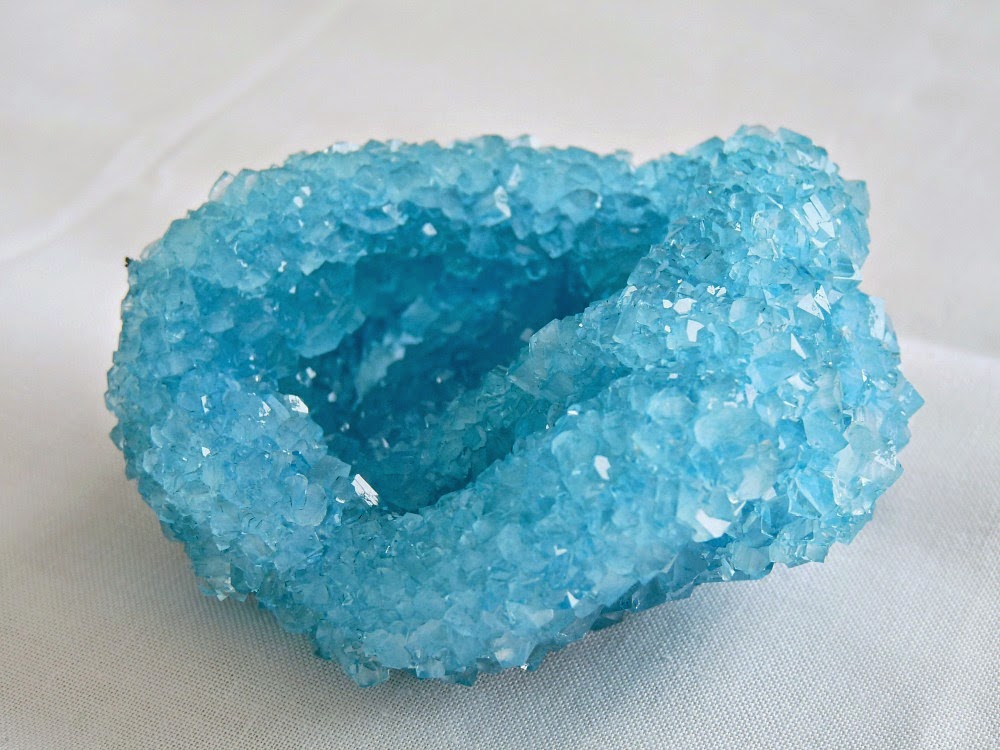
Growing Borax crystals is a fun DIY experiment that you can do easily and cheaply at home! These crystals can be grown in a rocky shape or in multiple colors, making them great for mineral displays.
Materials Needed To Make The Crystals
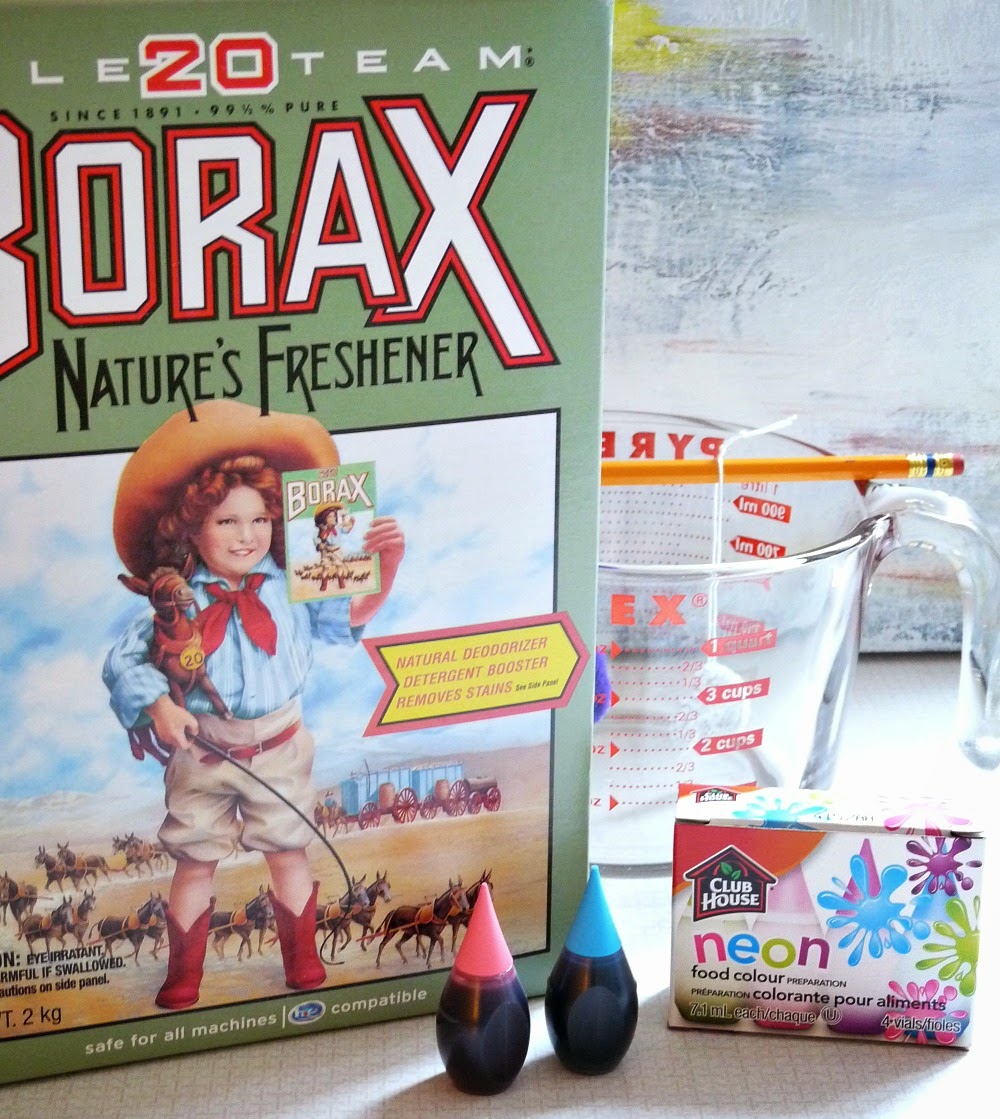
Boiling water
Borax
Pipe cleaners
Thread
Sticks or pencils to hang pipe cleaners from
Large heat-safe glass measuring cup for making the Borax solution
Scissors
You need to take these two things in consideration for big and rigid crystals
- A structure or armature on which the crystals grow
- Controlling the cooling rate of the crystal growing solution
1. Make A Structure To Be The Armature Of The Crystal
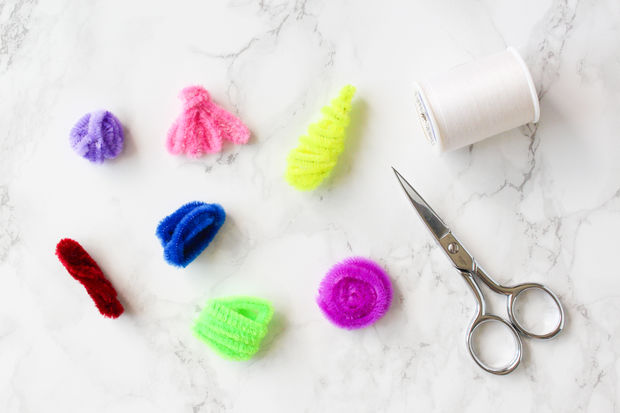
For a rock form, you can simply twist several pipe cleaners end-to-end and crumple them up into a rock shape. Neatness really doesn't count because you're going to coat the entire mess with crystals.
2. Take A Beaker To Make A Saturated Solution Of Borax
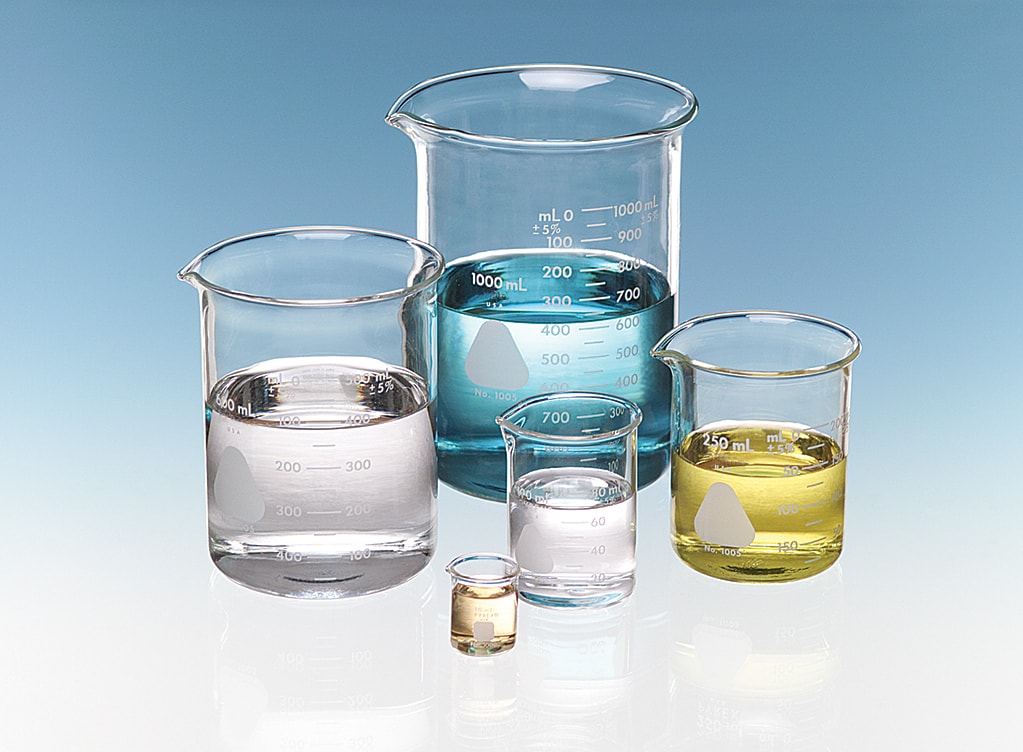
Find a container slightly larger than the pipe cleaner structure. You want to be able to set the shape in the container, without having it touch the sides.
3. Boil The Water To Make The Saturated Solution
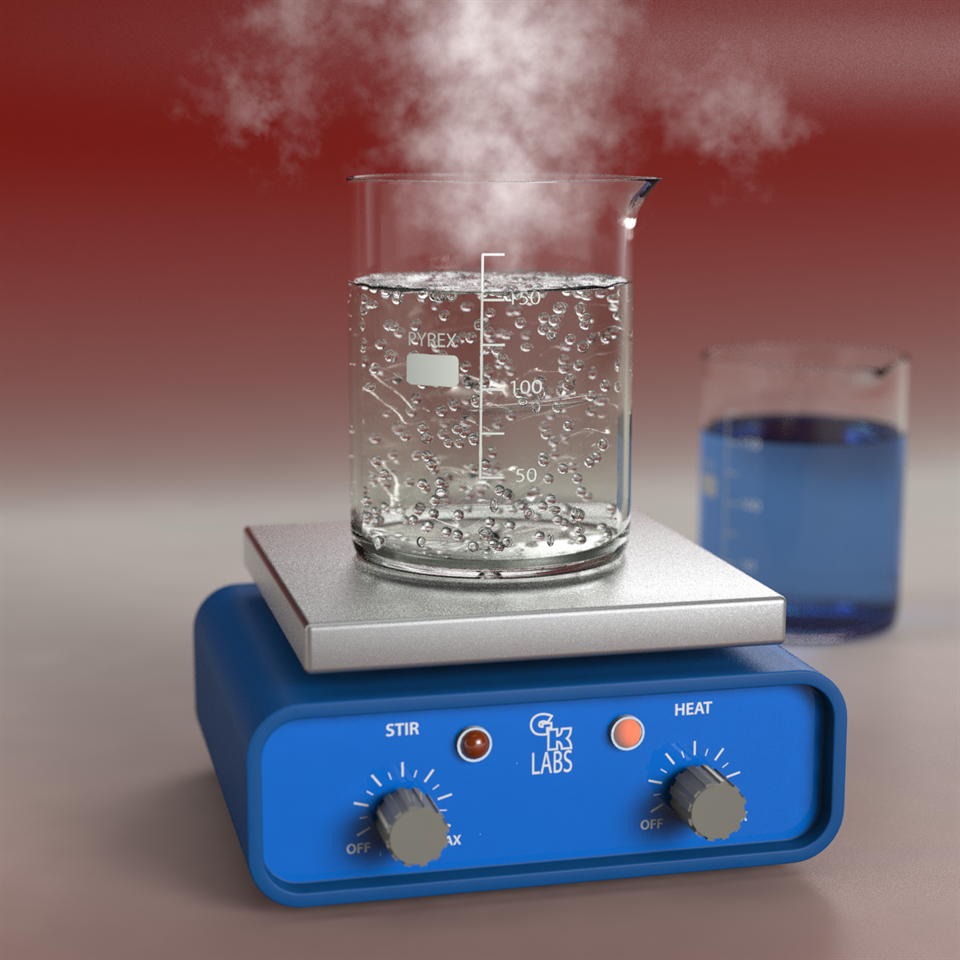
Boil enough water to fill the container enough that it would cover your pipecleaner form. Stir in borax until it stops dissolving.
4. Put Food Colouring Of Your Choice
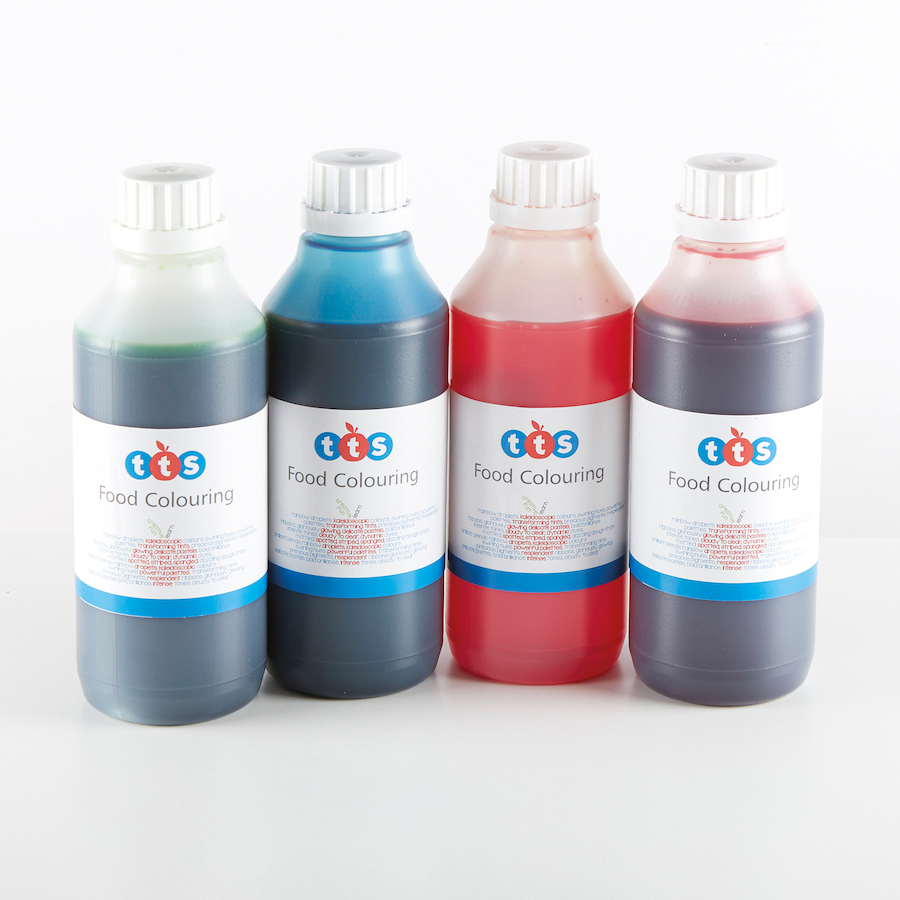
Add food coloring. The crystals will be lighter than the solution, so don't worry if it seems deeply colored.
5. Place the Shape Carefully In the Solution
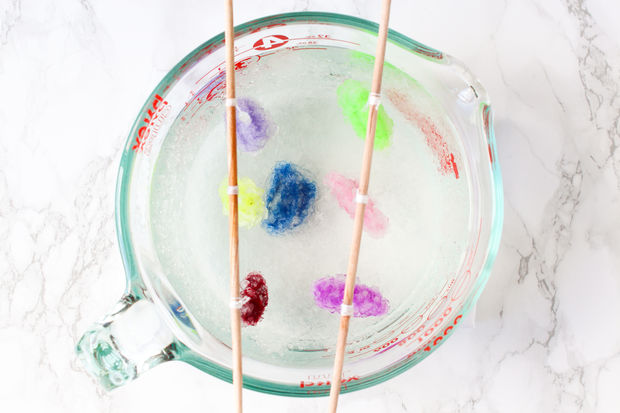
Place the pipe cleaner shape in the solution. You may need to shake it around a bit to dislodge air bubbles to make sure it won't float.
6. Let It Cool At Its Own Pace
You want the solution to cool slowly in order to get the largest crystals. Cover the container with a towel or plate. You can wrap it in a hot towel or place it in a warm location.
7. After Few Hours Remove The Crystalline Structure From The Solution
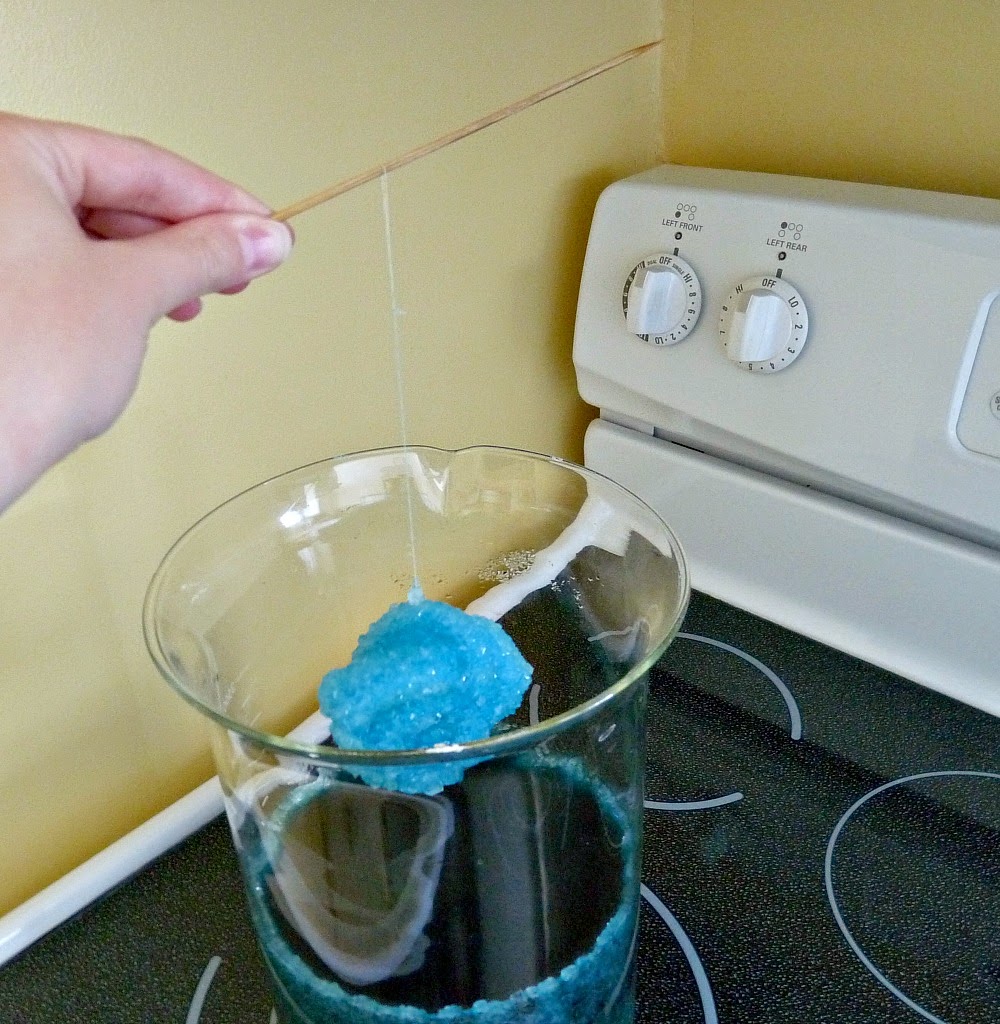
At this point, use a spoon to dislodge the shape from the bottom of the container. Let the crystals grow several more hours or overnight.
8. Coat It With Wax Or Clear Nail Polish To Preserve
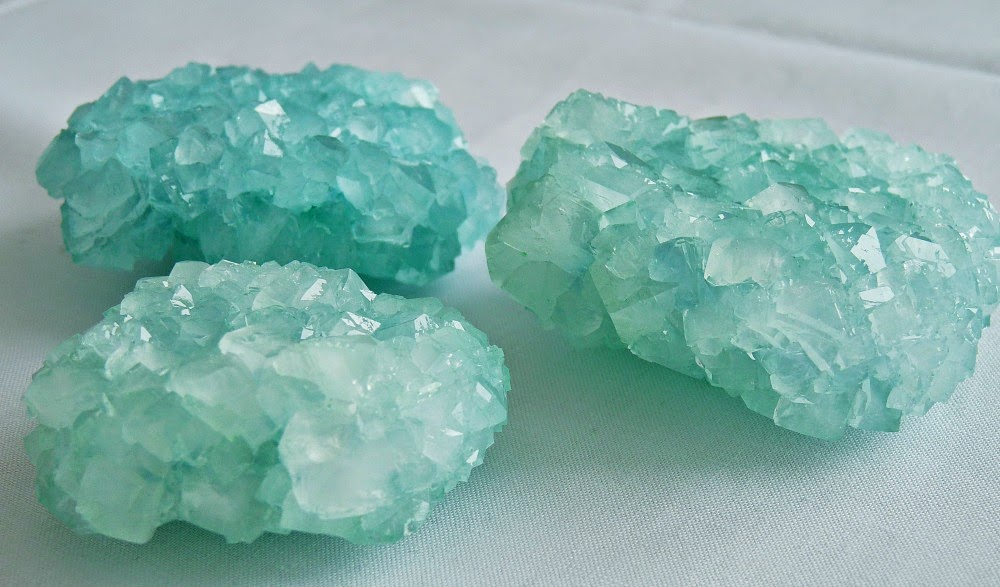
If you want to preserve the crystals to display them, you can coat them with floor wax or nail polish.
The Borax Crystals is a good DIY project, besides it also teaches some basic science about saturation and crystallization. So, have fun with your crystals, Backyard Scientists!
Popular Posts
9 Most Popular Poem on Perseverance
Poems are a way to express feelings in the form of verse. Some poems are written in such a way that tells us where we are and wh...
Augustus Perez
These 13 Paintings Convey Deep Meanings In The Most Extraordinary Way
Pictures speak a thousand words for those who understand its language. But an art that depicts the same is rare to confront. Fre...
Swati Bhandari
Phoenix Bird And Its Popular Culture Adaptations
In Greek mythology, the Phoenix is a creature that resurrects from its ashes after it has ceased to exist in a show of flames. I...
Kevin Green