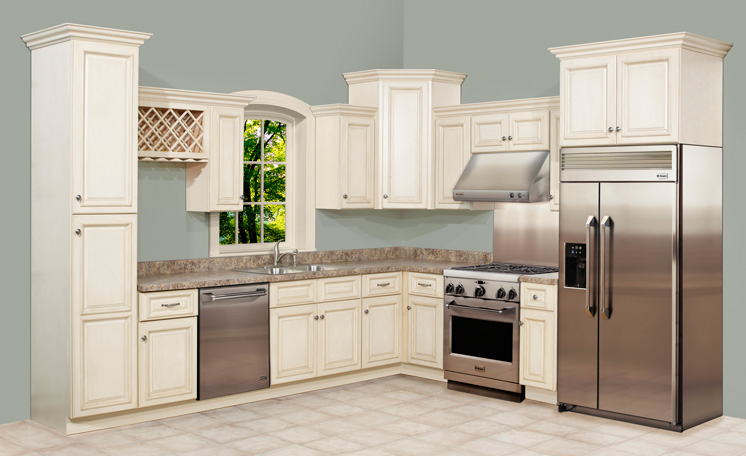
A Handy How-To Guide For Installing Kitchen Cabinets
Got yourself IKEA’s self-assembled furniture but don’t know how to go about it? Take a cue from this quick and handy how-to guide on installing kitchen cabinets by yourself.
Everyone knows about the philosophy of IKEA’s self-assembled furniture. But some products require more efforts and extra services to be assembled. Kitchen cabinets are one of those. Some consumers use help of assembly services to save themselves a routine. So here you’ll know how to install cabinets by yourself.
Before You Start
Furniture assembling requires a certain set of tools. Make sure you have these before you get started:
- Level
- Scale
- Clamps
- Hammer
- Impact Driver
- Drill
- Hacksaw or circular saw
- Screwdriver
- Tapcons (the size depends on the material and the thickness of walls)
Step 1. Install Kitchen Rails
To begin with, use a level to draw a line 1/4" from the desirable end of the cabinet. It is the place to install the rails. Cut them with a hacksaw to get an appropriate size for the length of your walls. Next, hold rails up to the drawn line, mark the appropriate holes, install the anchors in the marked ports, and fix the rails by attaching the screws.
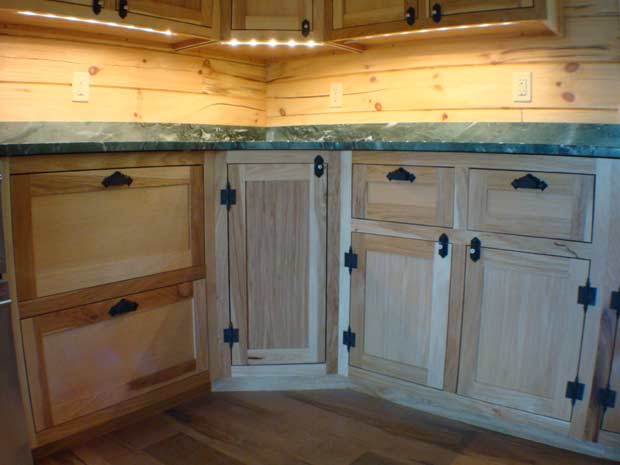
Step 2. Assemble The Cabinets
Just use the instructions and keep the tools next to you. You will need a hammer, drill, and screwdriver. If you follow the IKEA assembling sequence carefully, this step will not take too long. The manual consists a detailed information with schemes. However, be careful after you assemble few similar cabinets.
Some of them have minor details that are different from each other. Always check your results using the instructions. By the way, use a drill to fix all screws, but do not attach them too tightly, leave some space and finish it using a screwdriver. This is the way to prevent the face sides of your furniture from cracking. Warning! Do not install the doors on this stage. We will discuss this more when we get to the step 4.
And if you’re on a lookout for reliable and efficient assembly services, do give IKEA’s innovative and hassle-free delivery and assembly services a try.
Step 3. Cut Holes For Wires
None of IKEA furniture have holes for wires. You have to think about LED lights and other facilities in advance, before you install the cabinets. At first, consider every household appliance in your kitchen. The most common of them to be wired are microwave, coffee-machine, toaster, and blender. It is better to put wires behind the cabinets. Also, remember about sink plumbing. Anyway, it is better to draw a scheme of all wires and devices to make this stage easier and quicker. You definitely don’t need spare holes in your brand new furniture, do you?
Step 4. Hang The Cabinets
It’s better to start with the upper corner cabinets. Hang them on the rails with hooks on the back. Although IKEA shelves are not too heavy, this is the work for two. Actually, we are sure you will invite your friend to help you, but we just warn you in case you decide to do it on your own. So, when every cabinet is on its place, install the doors. There is a raw of holes on each wall in the cabinets for installing the doors. At first, put hinge mounts into a proper hole inside a cabinet. Then all you need is to snap onto the mounts on both sides.
Step 5. Do The Same With Bottom Cabinetry
The bottom cabinets stand on plastic legs, but they can’t hold them properly. These cabinets need to be hung on rails. It also provides a straight surface. You also need to check out your floor. If it is uneven, you should fix the length of each leg. Once again, use the level.
Now, you have installed the IKEA kitchen cabinets. Take some rest, invite more friends and show them your brand new DIY kitchen!
Popular Posts
What Does Lowkey Mean- Know the Slang from Tweets to Dictionaries
Language used on the internet has been rapidly evolving over the past few decades. They were basically invented to ease the com...
Rishika Gupta
See What Your Tongue Shape Says About Your Personality!
You must have read the article on this is what your Hands, or favorite colors says about your personality. But do you know the s...
Mayuri Gangwal
Gypsy Soul Definition & Its Characteristics
Everyone has a different perception of life. They have different likes and dislikes. There are people who get satisfied with wh...
Ethan Stephans